Process of Thangka making proccess according to Tibetan Buddhist Thangka is creating on cotton or silk. The primary purposes of Thangka paintings is to aid in visualization meditative art form that requires dedication, precision, and respect for its spiritual significance. Visualization meditation is a form of Buddhist practice that involves creating a mental image of a particular deity or spiritual symbol.
1.Process of Thangka making & purpose and significance of Thangka painting.
The Thangka painting serves as a visual aid to help the practitioner create a clear mental image of the deity or symbol. Each element in the Thangka Making has deep symbolic meaning. The painting serves as a guide for the practitioner, helping them to focus their attention and cultivate a deeper connection with the teachings. These artworks are not merely decorative but serve as meditation tools and convey religious teachings. So this is just like a road map to get Enlightenment.
2. Using Materials to create the Thangka Making Painting.
To create a thangka, should to use following materials:
- Canvas: To create the Thangka first have to make canvas. To make canvas need one stretching cotton tightly in wood frame.
- Wooden Frame: For stretching and securing the canvas. Should to come sound like drum.
- Pigments: Natural mineral white clay with pine resin glueg which made from tree, or some glueg can find made from Yak skin. To mix these two made pest then applying on the surface cotton canvas, and leave to dry on sun light. After dry put on the soft white bord and applying softly water then robbing many times on both side until not became smooth.
- Brushes: Brush are using different size, propose of different work in thangka, like 4-6 of number’s brushes are suing to make dry sheding and coloring and no: 00 or 0 to no:2 Fine lining or to make gold carving, which high-quality brushes of varying sizes for detail work.
- Charcoal or Pencil: For sketching the initial design.
- Ruler and Compass: To ensure precise proportions.
- Gold tablet (Optional): Gold which use on thagka to make more beautiful as creating different kind of symbol as carving on robs, cloth, elements ornaments of deities.
- Charcoal or Pencil: For sketching the initial design.
3. Creating the Layout
- Draw sketch the line: Use a ruler and compass to divide the canvas into proportional sections. This line ensures symmetry and accurate placement of elements, to use geometric formula.
Sketch the Deities or Mandala: Begin with light pencil or charcoal strokes, which comes on traditional formula bases. So sketch master must to know the formula and meaning of those deities or mandalas. Traditional thangkas often depict deities, mandalas, or spiritual scenes, following precise iconographic guidelines
4. Apply The Colors
When Start start to apply the colors with the background and larger sections, applying flat, even layers of color. Who creating thangka Making on traditional way they used stone colors, but commercial way who creating thangka they are using acrylic colors. Traditional thangkas use a vibrant palette with symbolic colors. So on thangka colors also gives different vibes and energy. Like stone colors gives more positive vibes with peace energy, but acrylic colors have less vibes so difficult to connect with thangka.
5. Add Details
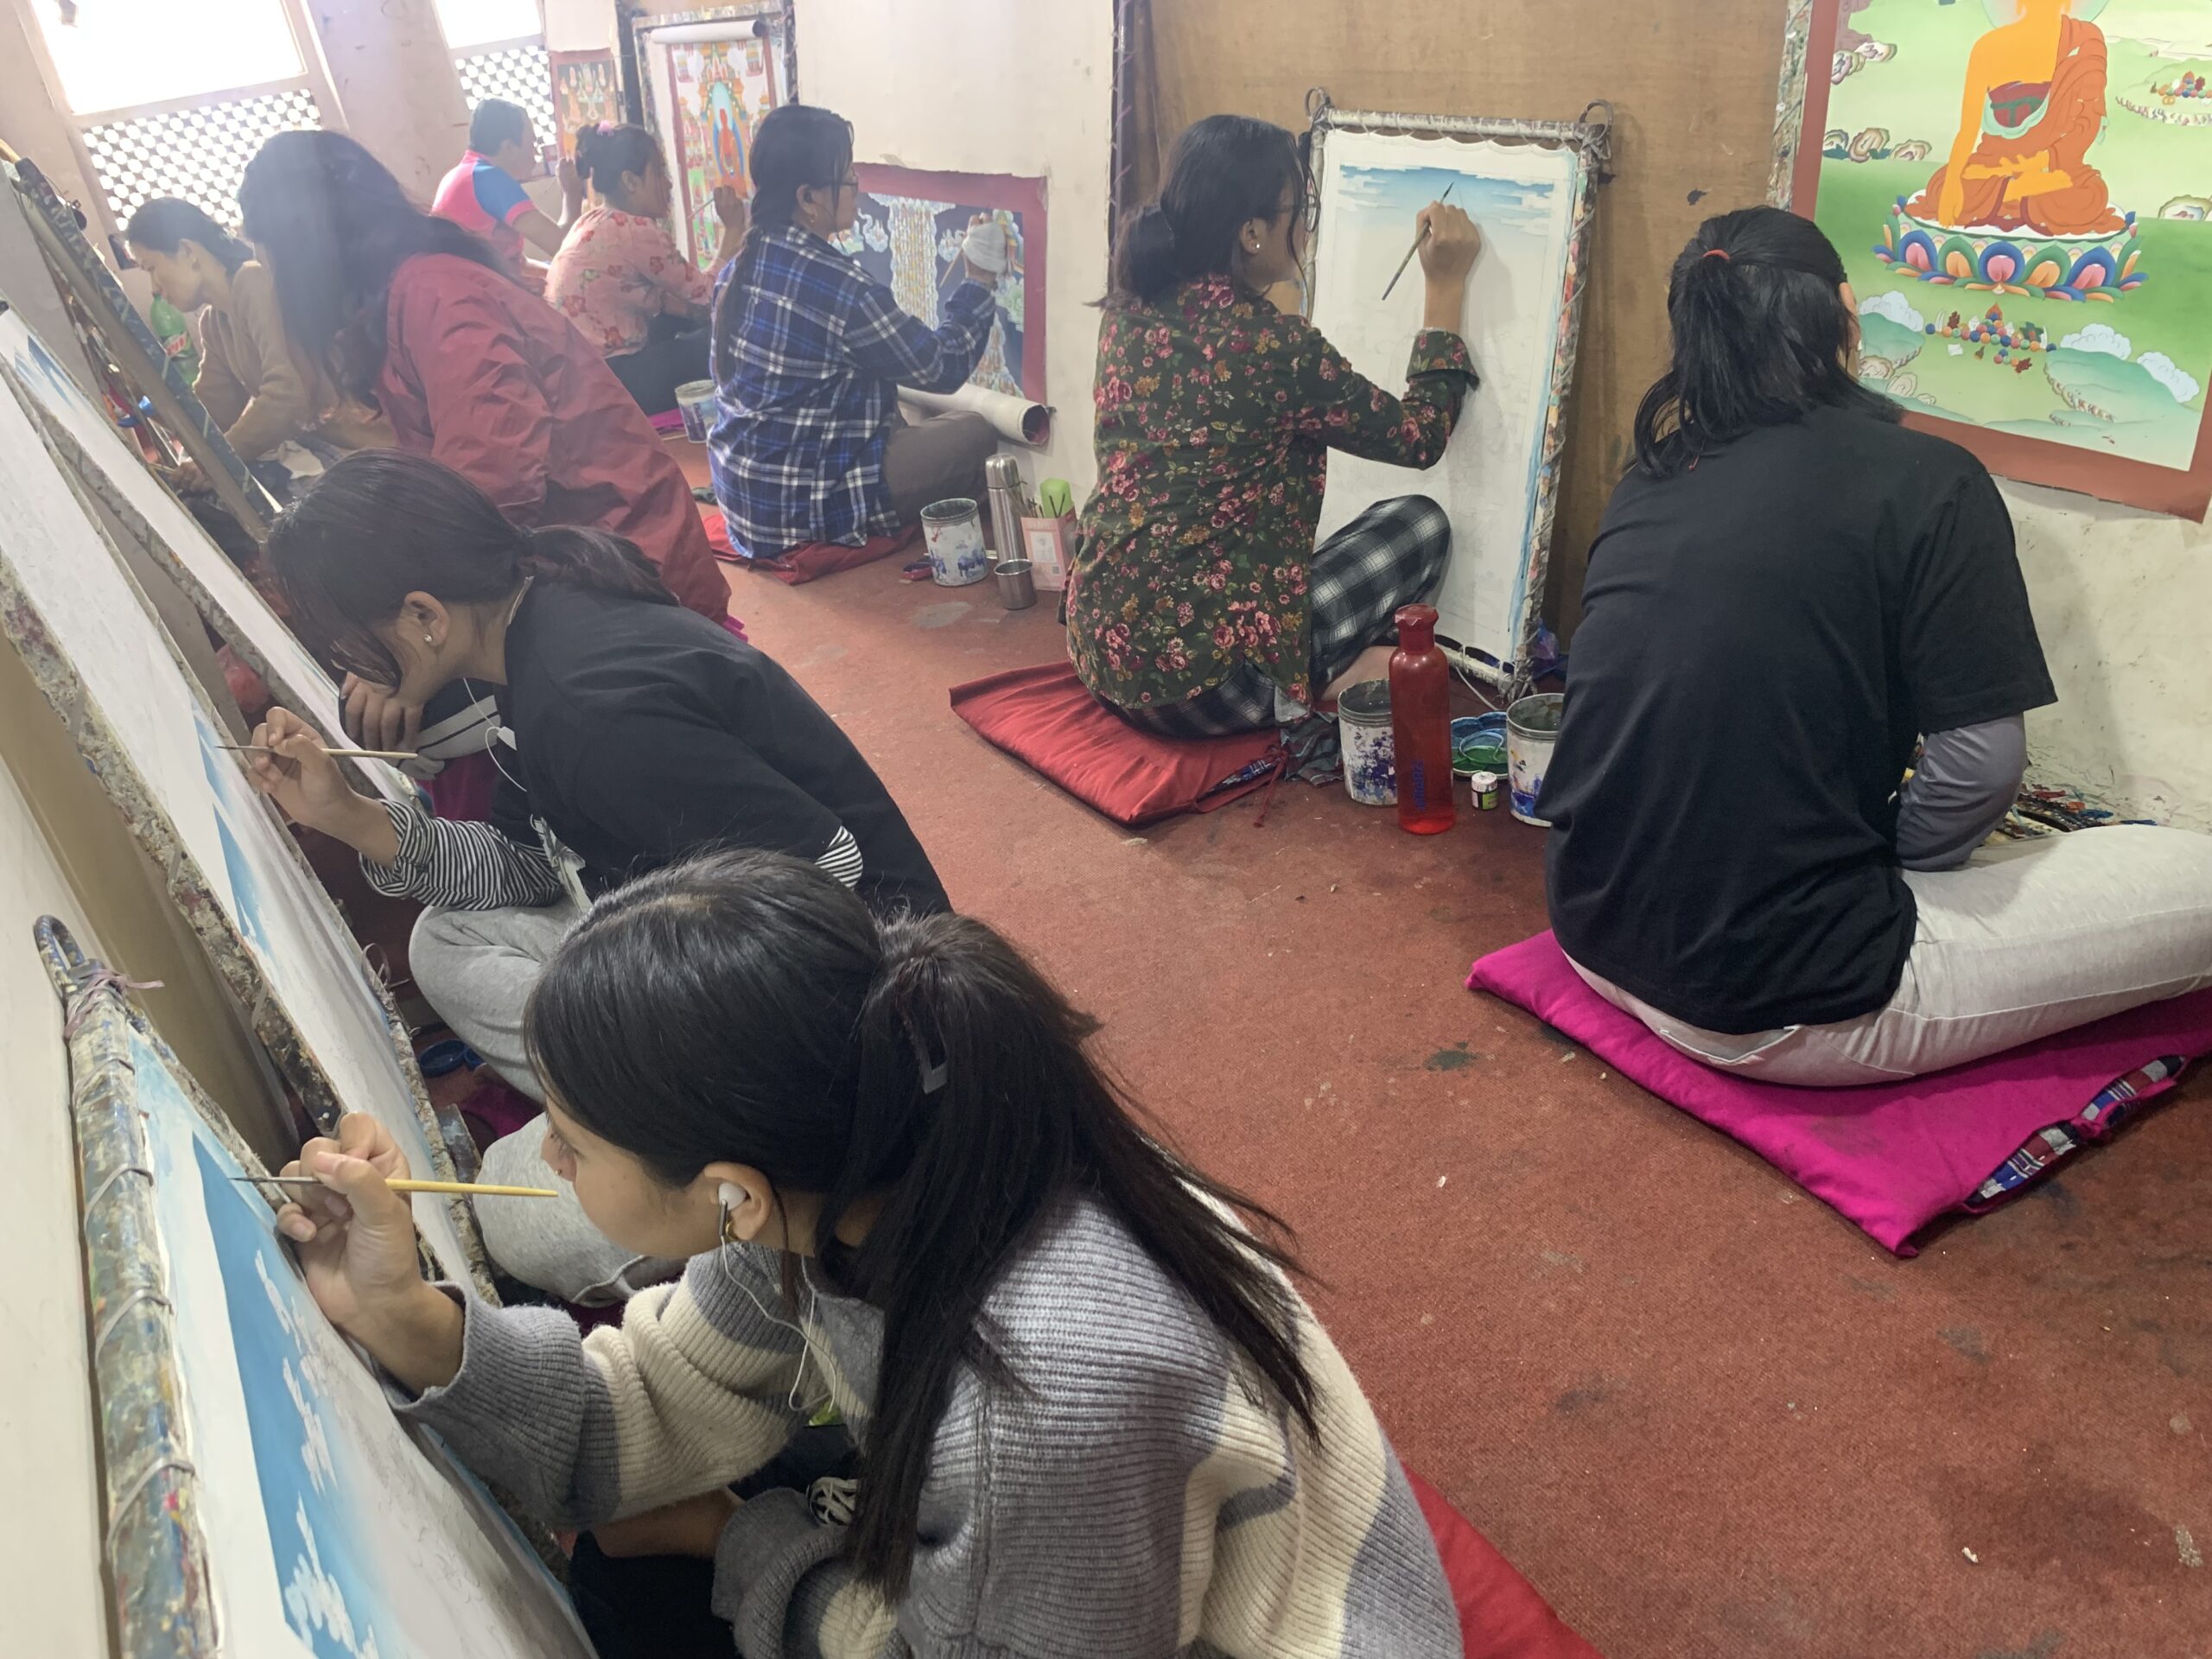
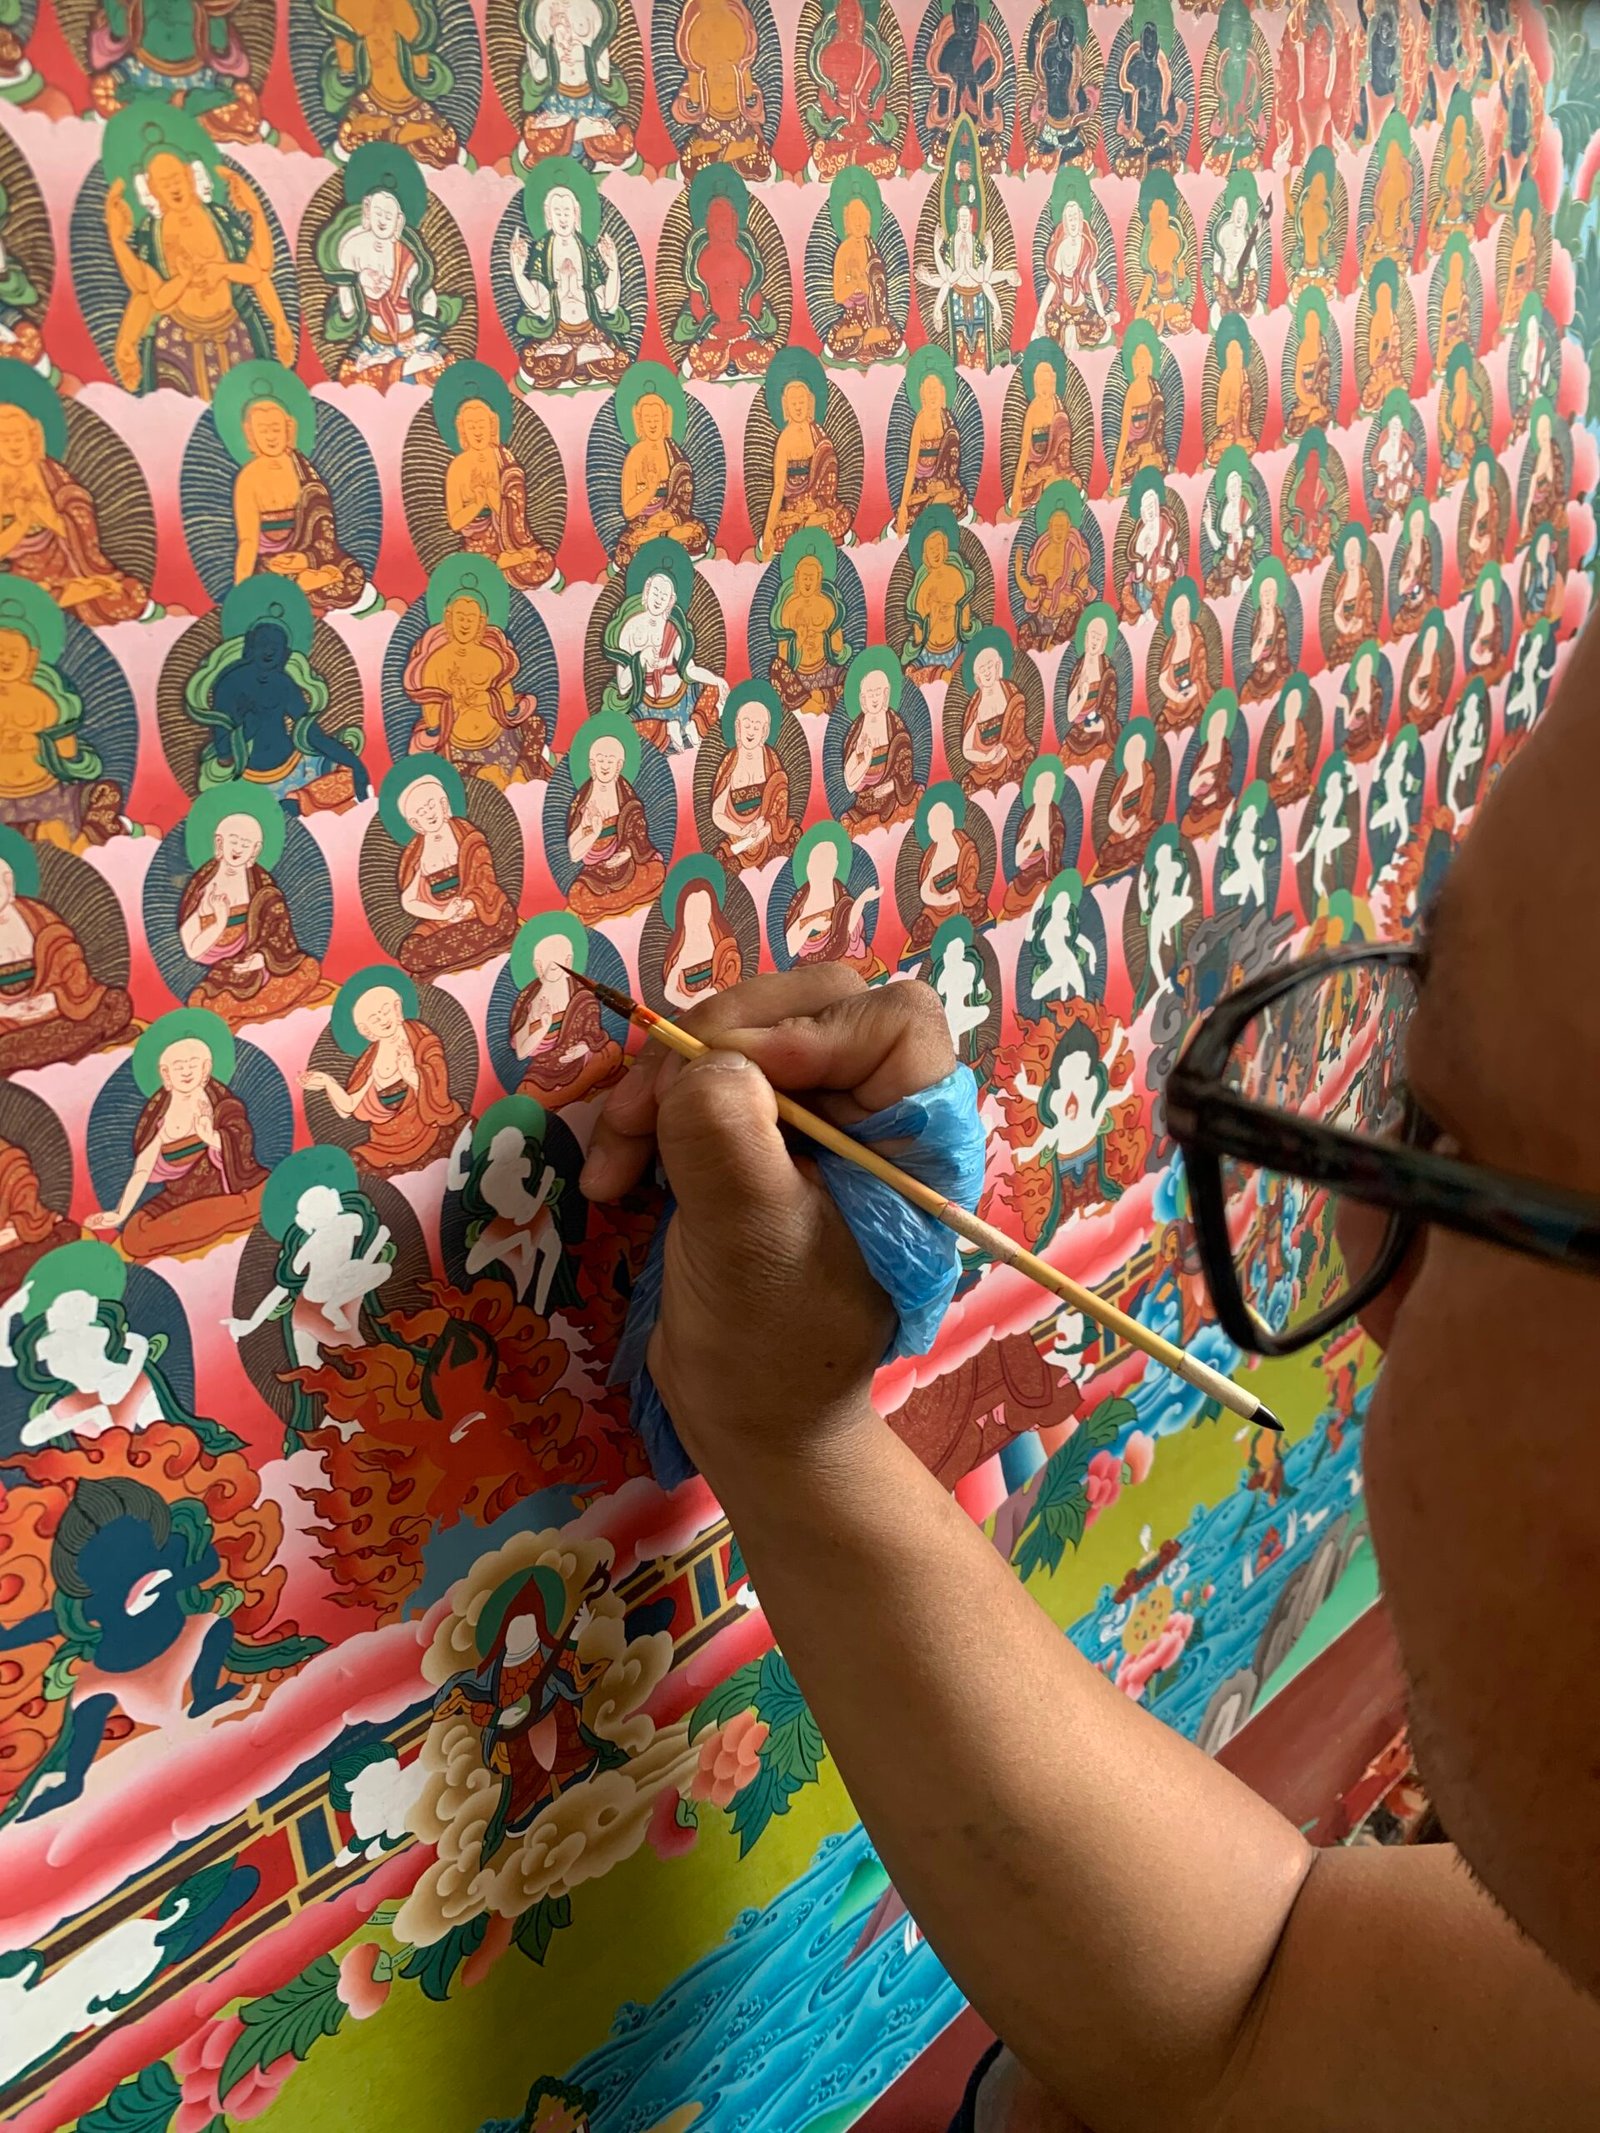
To add details on Thangka Making Using fine brushes, paint intricate details like facial features, ornaments, and patterns. To do this part must to use high professional artist who have more then 10 years experience. This step requires patience and precision. The lines should be clean, and the colors carefully blended.
6. Highlight and Embellish
- Part of Use gold or fine gold paint into deities robs or cloths and on ornaments or decorative part to highlight sacred or intricate parts of the design, such as halos or jewelry.
Add shading and gradients to give the painting depth and a three-dimensional appearance
7. Finalize the Thangka Making Painting
- In this section great master artist making body part of deities with beautiful facial expression. To do this part master artist must to be peace mood. Inspect the thangka for any corrections or touch-ups.
Once satisfied, allow the painting to dry completely.
8. Mount the Thangka Making
After ready the thangka then framed framed with colorful silk brocade. The mounting process involves sewing the painting into a brocade frame and adding wooden dowels for rolling and unrolling. But who don’t like to get thangka with silk frame they can make glass frame also.
9. Consecrate the Thangka Making
In Tibetan traditions, a thangka is consecrated by a spiritual teacher or like high label monk before being used in meditation or rituals. So before consecrated was just like painting but after this consecrate thangka become with sprit .This step imbues the artwork with spiritual energy and purpose.
So Thangka Making It literally means a painting that can be rolled up. Thangka’s are meditative tools that personify and represent the qualities of the Gods and Goddesses painted in the Thangka. These paintings are made on cotton or silk canvases and use natural colours and also use Precious metals like Gold, Silver and Turquoise for these colours and every painting takes months to make.